How to Fix DNS Server Not Responding
The domain name system (DNS), also known as the phonebook of the Internet, is essential to our connection online. A DNS server is what actually stores and provides the information that the Internet accesses when we attempt to make a connection or visit an address. However, sometimes, users receive the 'DNS server not responding' error when they attempt to go online. In this article, we’ll explain why that error may occur and cover how to fix a 'DNS server not responding' error.
Why is my DNS server not responding?
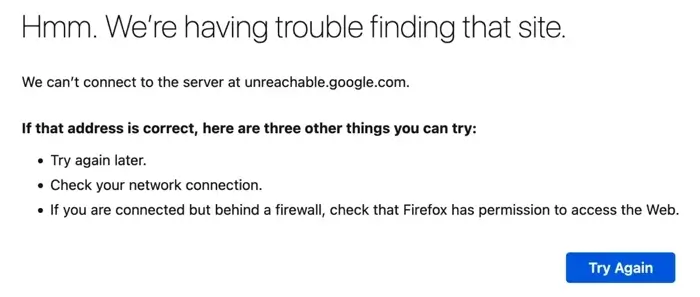
When users receive the 'DNS server not responding' error, the root cause isn’t always clear. There are several issues that can prompt problems with the domain name system server and disrupt access to the Internet. Your browser, router, or computer could be malfunctioning; it’s also possible you’ve run into a cache issue or DNS server issue. But what does 'DNS server not responding' mean? Ultimately, the 'DNS server not responding' error comes when the server can’t connect to the domain you’re attempting to reach, which could be a result of any of the aforementioned issues.
9 ways to fix the 'DNS server not responding' error
Though there isn’t one cause for a DNS error, most of the potential error causes are simple to fix. Below are 9 of the most common solutions to the 'DNS server not responding' error message.
Switch to a different browser
One of the most common reasons your domain name system server isn’t working properly is simply a connection issue from your web browser. Try switching to a different browser that you don’t normally use and see if the issue resolves itself. For example, if you typically use Google Chrome, try Mozilla Firefox. In many cases, this quick change fixes the issue. However, if it doesn’t, you’ll know the issue isn’t with your Internet browser. Proceed with other solutions below.
Check your connection to the Internet
Similarly, it’s possible that the response error is just a WiFi issue. Make sure that you have a strong connection to the Internet and that your WiFi is working properly, which allows the DNS server to do its job and respond as fast as possible. If your connection isn’t strong, try changing your router location, removing unused devices from the network, or adjusting your WiFi channels.
Restart your computer
Restarting your computer is another simple fix that’s worth trying before you delve into more complicated solutions. Save your progress on any projects you have open, shut down your programs, and restart your computer from the Start menu. If the issue still persists and the warning message hasn’t left once your computer restarts itself, proceed forward with other potential fixes.
Restart your router
If you’re still experiencing issues, restarting your router can clear out your router’s cache and reset the functionality. You can do this by pressing the power button on your modem and allowing it to sit for a minute before turning it back on. You can also try rebooting the router by unplugging the whole unit and plugging it back in. Once it re-establishes a network connection, see if the error is resolved.
Switch DNS servers
Though your Internet service provider (ISP) supplies a DNS server, users have the option to switch their DNS server if they feel it isn’t performing as well as they’d like. Users can switch over to a public DNS server like Google’s DNS; though public DNS servers aren’t perfect, they can sometimes work better than the servers provided by your ISP. If your server isn’t responding, try an alternative DNS server by adjusting your computer’s adapter settings. Switching DNS servers will indicate whether the ‘DNS not responding’ error is internal or external.
Flush your DNS cache
Just like your router cache, your DNS cache gets stuck periodically and benefits from a reset. You can flush your cache by following the instructions below for your system.
On a Windows device:
- Go to your computer’s Start menu.
- Locate the command prompt, which will open another window.
- Type in ipconfig /flushdns and press Enter to execute the command.
On a MacOS device:
- Type in cmd+Space to open Spotlight.
- Find Terminal and select it from the search results.
- Type in sudo dscacheutil -flushcache and press Enter to execute the command.
- Submit your password when requested and hit Enter again.
This can fix the DNS server issues and clear the pathway for a secure connection. If your DNS cache is the problem, you won’t see the ‘DNS server not responding’ error once you’ve completed the /flushdns or -flushdns command.
Update the network adapter drivers on your device
If you’re using a Windows computer, your network adapter driver could be outdated. Network adapter drivers are programs that allow communication between your network connections and PC computer. Out-of-date drivers would inhibit your DNS server from working properly. Use an automated update tool to find the right driver for your device, install the update, and then restart your computer to see if this is the issue.
Disable IPv6 on your computer
IPv6 (Internet Protocol version 6) has overtaken IPv4 (Internet Protocol version 4). It helps route traffic between your network and the Internet with speed. In most cases, you would want an IPv6 address active on your computer as opposed to an IPv4 address, but in some cases, your router isn’t adept to IPv6 address translation. You can disable IPv6 on your computer through the properties under the network connections control panel, which could resolve your DNS server issues.
Correct your DNS server address
If your DNS server address is off, it will disrupt the DNS server’s process and cause an error message. You can correct your DNS server by following the instructions below for your system.
On a Windows device:
- Go to the Network and Sharing center on your computer’s control panel.
- Locate the Change Adapter Settings
- Right-click on Local Area Connection, Ethernet, or WiFi.
- Under Properties, select the option to automatically obtain an IP address and DNS server.
On a MacOS device:
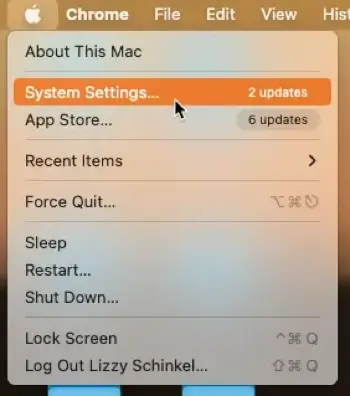
1. Choose System Settings in the Apple menu.
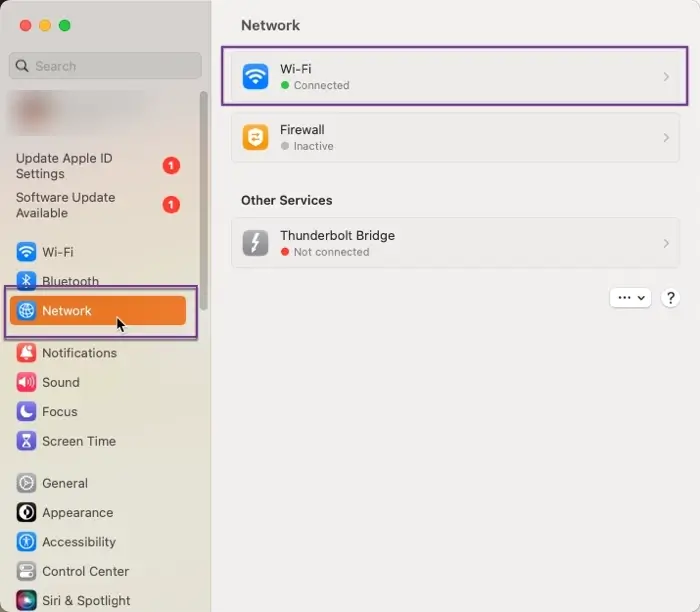
2. Click Network and then select WiFi.
3. Select your WiFi network from the list and click Details.
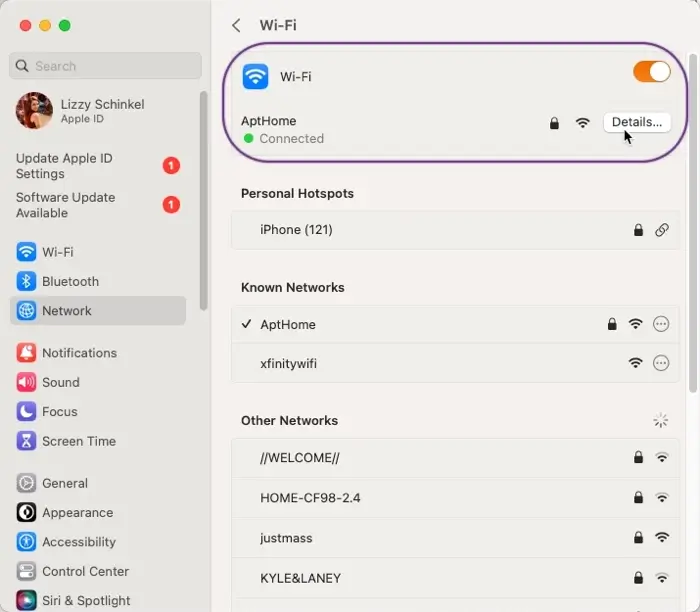
4. Next, click DNS.

Once you’ve verified your DNS settings, try to access the website you’re seeking. Using the steps above, you can modify your DNS to use Google's public DNS of 8.8.8.8. Using Google's DNS could eliminate the issue if the DNS of your Internet Service Provider isn't working. You can also lookup DNS records using the DNS lookup tool to verify if a site is supposed to be active.
The 'DNS server not responding' error may be one of the most irritating to computer users. Luckily, it’s also one of the easiest to fix. Make sure you try all of the above solutions to try and resolve this common error message before taking more drastic action.